
Steps to Finish a Basement: What Comes First?
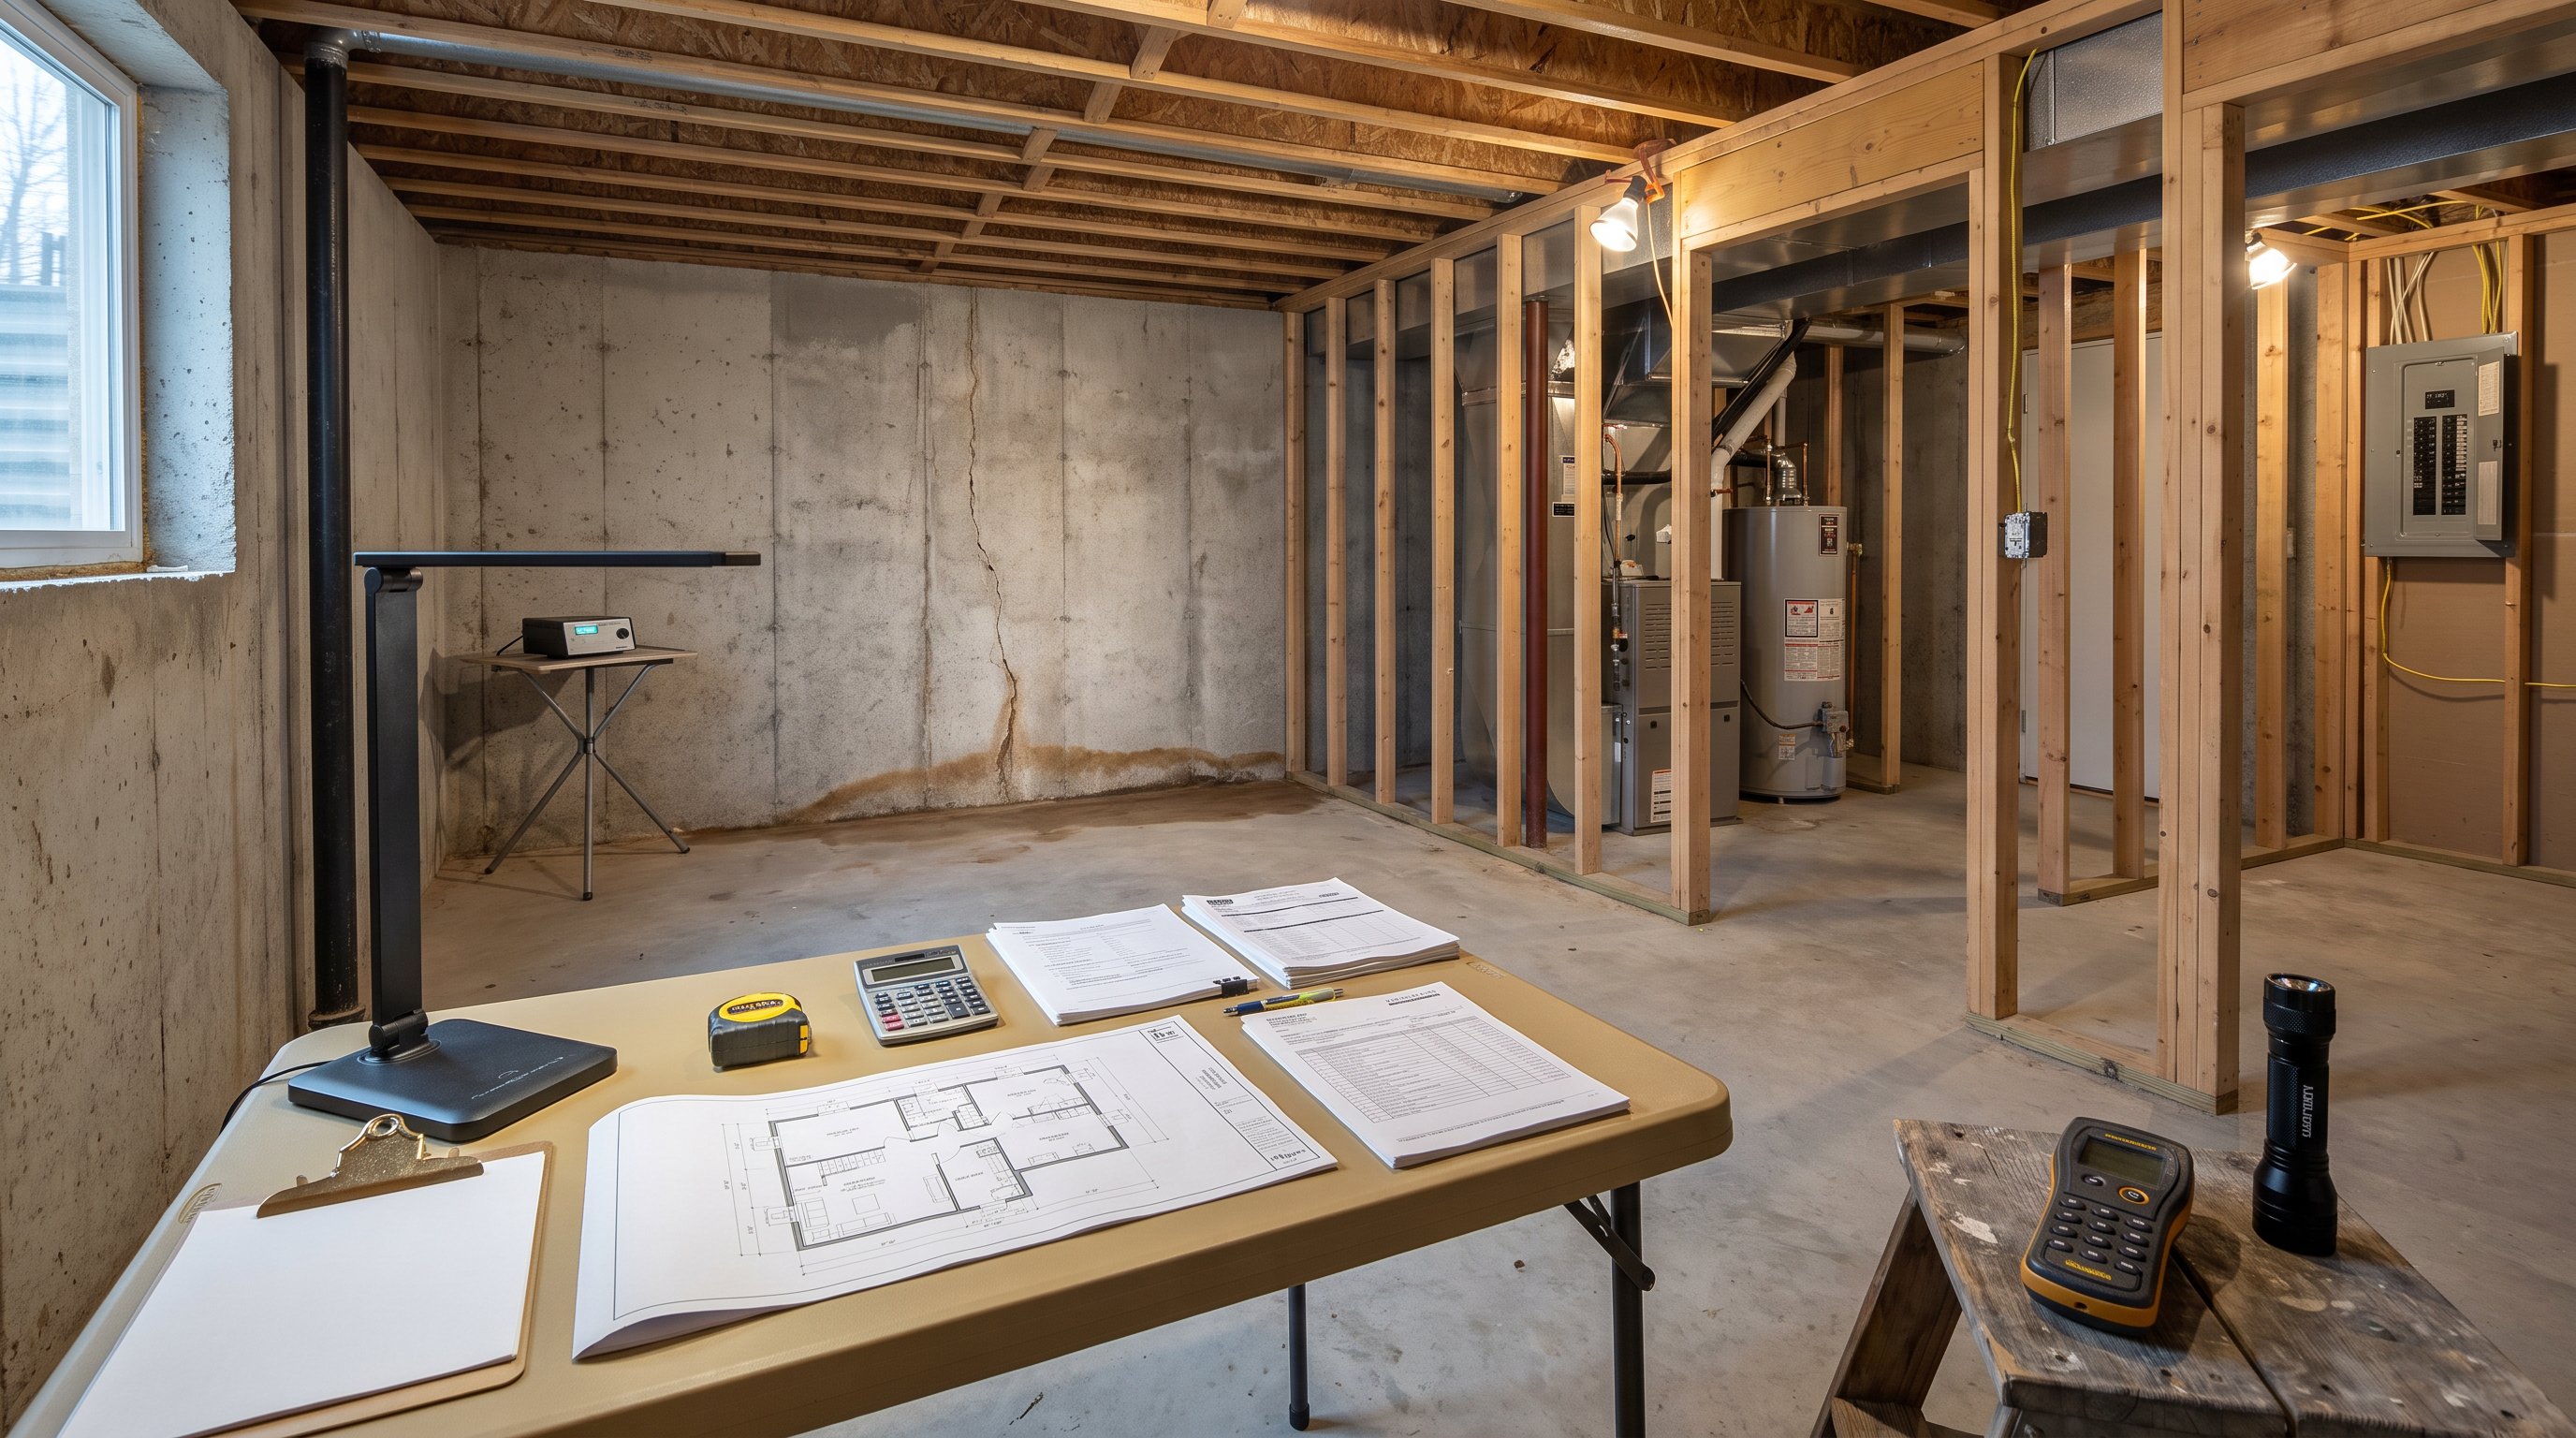
The steps to finish a basement start with moisture checks, layout planning, and permits, not framing, and move through utility work, inspections, insulation, and finishes. At PANDEN, most standard basement projects take 8–14 weeks from framing to final paint, with timing affected by permitting and project scope. We explain how to finish a basement in the right order, which decisions belong before construction, and what to confirm before moving furniture downstairs. The goal is to settle expensive questions while the concrete and utilities are still exposed.
Plan Your Layout, Budget, and Permits—and Resolve Moisture Before Building
Start with a dry, suitable basement and an approved plan that matches how your household will use the space. A family room, bedroom, and separate apartment don't have interchangeable design or approval needs.
We inspect foundation cracks and moisture issues before hanging drywall. Along the Wasatch Front, soil movement can contribute to settling, while snowmelt and irrigation can expose drainage problems around the foundation. Staining, damp concrete, or recurring odors deserve investigation before new materials hide them. Our guide to basement moisture before finishing covers the tests and fixes in detail.
A coating alone won't correct water entering through poor drainage. Identify the source, complete the appropriate repair, and confirm it works before construction proceeds. We also recommend radon testing before finishing so any needed mitigation can be coordinated with the layout.
Map furniture, doors, storage, and circulation before placing walls. Include access to the furnace, water heater, electrical panel, and shutoff valves. Our basement finishing page shows the kinds of spaces homeowners ask us to build.
Budget for the complete scope, not just finished square footage. Concrete cutting, bathroom plumbing, and specialty equipment can change the work involved. Keep a separate allowance for conditions that aren't visible until construction starts. Our guide to basement finishing cost explains what moves the price.
We provide free in-home estimates and 3D design mockups before breaking ground. When you choose a contractor, ask for a written scope identifying permit responsibility, finish allowances, exclusions, and how changes receive approval.
We handle city permitting for our projects. For a Lehi project, confirm the proposed use and current requirements with Lehi City's building department: rules change. Resolve bedroom or separate-apartment approval questions before ordering materials, rather than assuming a finished room automatically qualifies for either use. See the local steps for Lehi, Saratoga Springs, Herriman and South Jordan.
Complete Framing, Egress, and Utility Rough-Ins Before Insulation and Inspections
Complete framing, emergency escape work, and utility rough-ins before covering the walls. Required rough inspections come before insulation, followed by any required insulation inspection before drywall: inspection isn't a single event at the end.
We coordinate these phases because each trade affects the others. A drain needs slope, a duct needs space, and a recessed light can't occupy the same location as a joist.
Frame around the finished dimensions
Account for flooring thickness and ceiling construction when laying out walls, stairs, and door openings. A room that feels tall enough under open joists can feel cramped once ducts and drywall are enclosed.
Structural posts and beams aren't obstacles to remove casually. Work them into the design or obtain an engineered solution when a structural change is justified. Our guide to basement ceiling options covers ways to preserve usable headroom.
Resolve bedroom escape openings early
For a Lehi basement bedroom proposal, have the building department confirm the required emergency escape and rescue opening under its current adopted code: rules change. Don't assume an existing small window qualifies, or that a hallway window serves a separate sleeping room.
If the approved design requires concrete cutting and a larger window well, complete that disruptive work before interior finishes. Keep drainage, opening operation, and access through the well part of the same plan.
Coordinate comfort, power, and plumbing
We plan supply and return airflow together and assess whether the existing HVAC system can serve the added space. Simply extending a supply duct doesn't establish adequate circulation or balanced temperatures during Utah winters.
Locate bathroom exhaust, plumbing vents, outlets, lighting, and equipment connections before walls close. A sauna, theater, or wet bar should enter the plan now, not after wiring is complete.
Our ceiling planning guide also covers coordination around overhead obstructions. Photograph concealed utility locations, complete required rough inspections, and then install the specified insulation and sound-control materials.
Finish Walls and Ceilings, Then Add Paint, Flooring, Fixtures, and Furnishings
Install drywall after the required concealed-work approvals, then sequence finishes to protect completed surfaces. Drywall sanding and other dusty work belong before flooring and final fixtures whenever practical.
Close walls without trapping problems
The foundation-wall assembly needs insulation and moisture control suited to below-grade concrete. We don't treat an interior partition and a concrete perimeter wall as the same assembly or add a vapor barrier without considering how the wall will dry.
Choose ceiling access deliberately. Drywall creates a continuous surface, but shutoffs and serviceable equipment may still need access panels. Sound insulation between joists can help reduce airborne noise: it won't eliminate every footstep from upstairs.
Match flooring to the slab
Test slab moisture and confirm flatness before selecting the installation method. New flooring can fail over damp or uneven concrete even when the surface looks clean.
Luxury vinyl plank is often a practical basement choice. A waterproof plank doesn't make the entire floor assembly waterproof, and its manufacturer may require specific moisture limits or a vapor-control layer.
Engineered hardwood can work when the product is approved for below-grade installation and site conditions meet its requirements. It isn't waterproof. Our basement flooring guide expands on material selection and slab preparation.
Finish around actual use
Complete major painting before flooring where possible, then protect the floor during trim, fixture installation, and touch-ups. Coordinate cabinets with flooring requirements: some floating-floor systems shouldn't be pinned beneath fixed cabinetry.
Select furnishings that preserve escape routes and equipment access. Measure the stairwell before buying a sectional, and confirm door swings before placing gym equipment.
When weighing optional upgrades, our basement finishing ideas guide offers context for those decisions. Prioritize dry construction, comfortable temperatures, and useful rooms before spending on specialty features that only a narrow group of buyers may want.
Conclusion: Complete Final Inspections Before Enjoying Your Finished Basement
Complete required final inspections and resolve outstanding corrections before using the basement as finished living space. Final paint isn't the same as permit closeout.
We recommend a walkthrough that tests lighting, outlets, plumbing fixtures, exhaust fans, doors, and windows. Confirm that heating reaches each room, required alarms operate, and shutoffs remain accessible. Record unfinished items in a written punch list with a clear plan for completion.
Keep permit records, inspection approvals, product warranties, and photos of concealed work together. Those records help with future repairs and questions when selling the home.
Your first decision is the intended use: your first construction priority is a dry, approved space. To start with a scope based on your actual basement, call PANDEN at (801) 797-0075 for a free in-home estimate.
Basement Finishing FAQs
What are the initial steps to finish a basement successfully?
Start by checking for moisture issues and foundation cracks, plan your layout and budget, obtain required permits, and ensure your basement is dry and suitable for its intended use before any construction begins.
How long does a typical basement finishing project take?
Most standard basement finishing projects take between 8 to 14 weeks from framing to final paint, with timing influenced by permitting processes and the project's scope.
Why is it important to plan airflow and HVAC before finishing a basement?
Proper airflow and HVAC planning ensure balanced temperatures and adequate circulation, especially in Utah's extreme winters, making the basement comfortable and energy-efficient after finishing.
What flooring options are best suited for basements in Utah?
Luxury Vinyl Plank and engineered hardwood are excellent choices for Utah basements because they resist moisture, warping, and are better suited for the dry climate compared to solid wood.
Do I need permits to finish a basement in Utah?
Yes, permits are typically required and vary depending on intended use, such as adding bedrooms or rental units. It's best to check with your local building department before starting any work.
How can I ensure safety with emergency exits in finished basement bedrooms?
Basement bedrooms in Utah require code-compliant egress windows or emergency escape openings. Confirm local requirements early, and include concrete cutting or window wells before closing walls for compliance and safety.