
Basement Ceiling Options in Utah: What the Height Rules and Your Ducts Allow
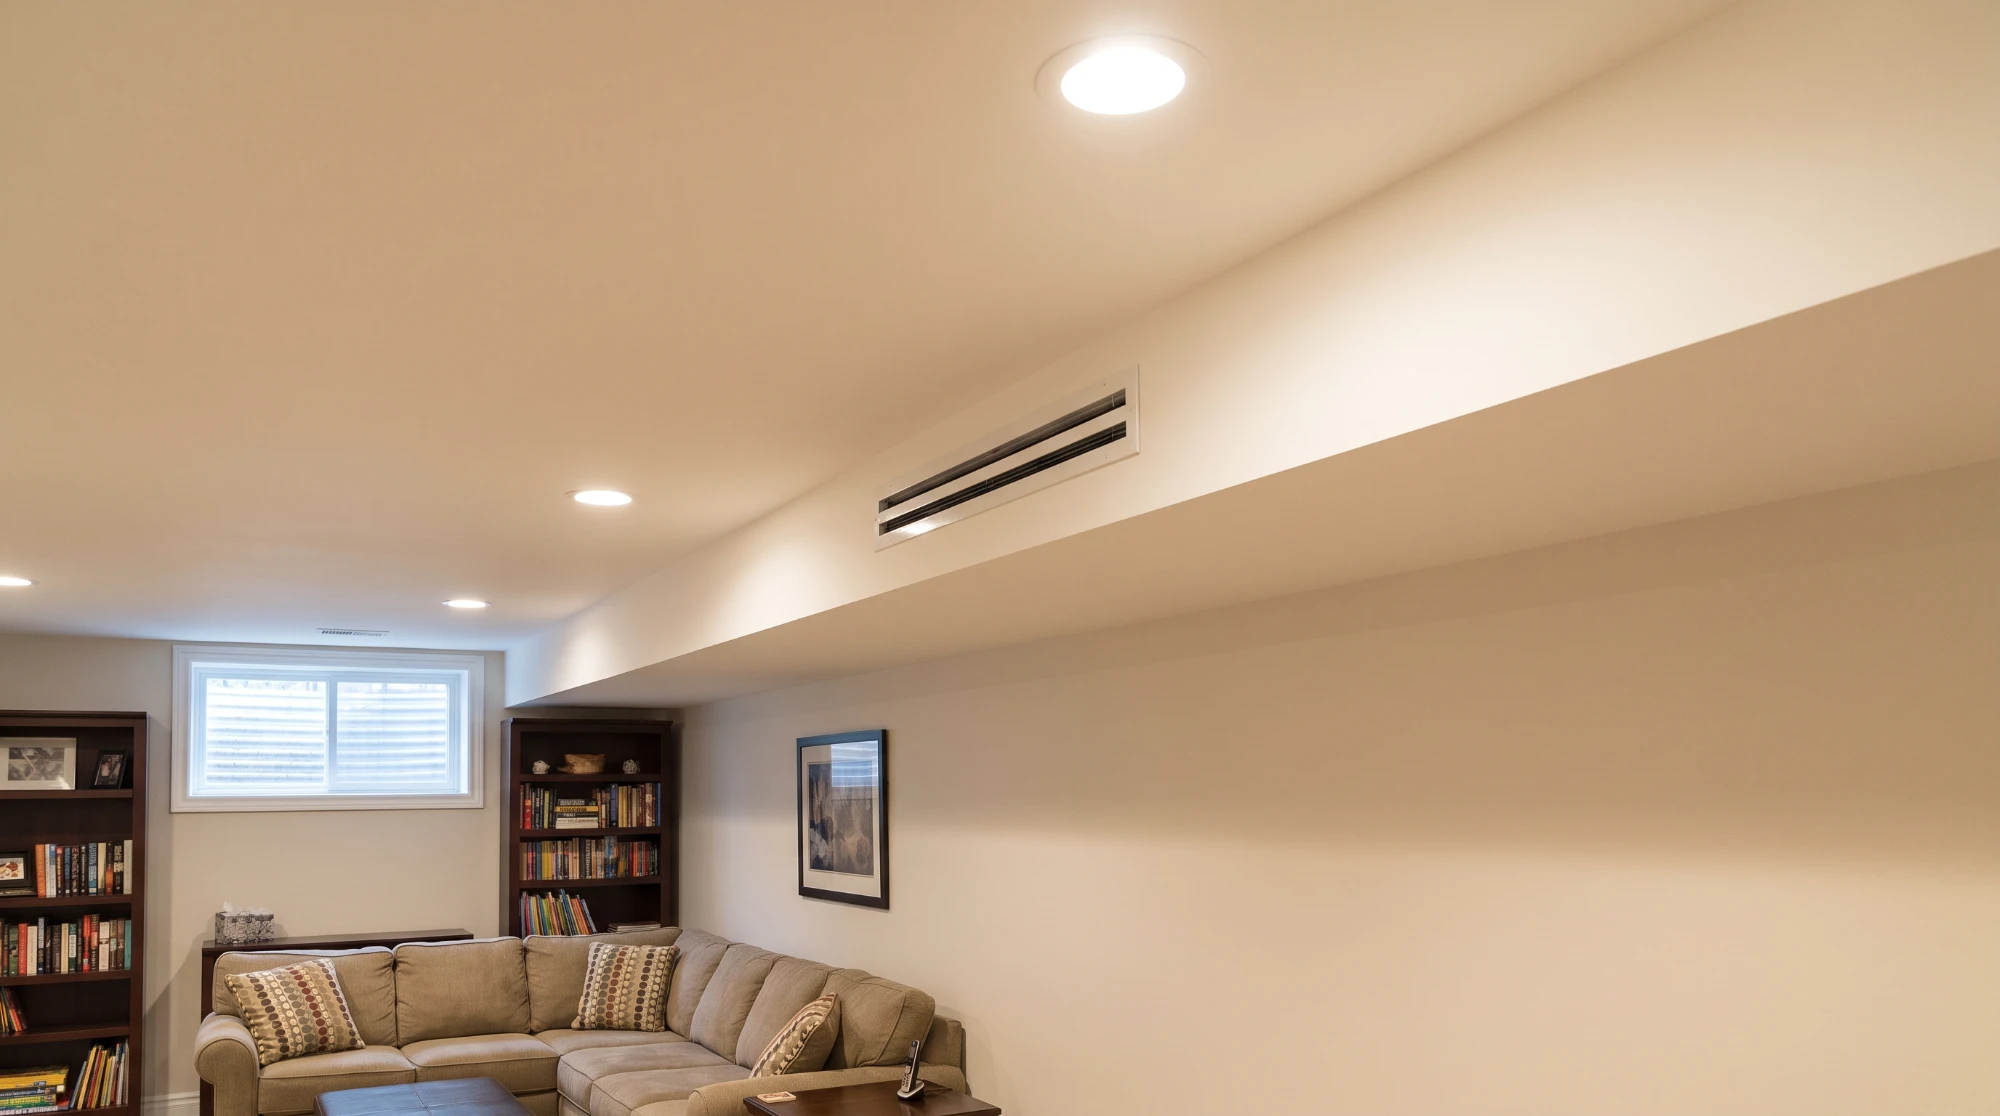
The ceiling is where most basement plans get squeezed. You need enough height to count as living space, and the ducts, beams and pipes running under the floor above are already taking some of it. The right ceiling is the one that fits inside those limits and still lets you reach what's hidden above it.
Start with the height rule
Under the 2021 International Residential Code, habitable space and hallways need a ceiling at least 7 feet high. Beams, girders, ducts and other obstructions may project down to 6 feet 4 inches above the finished floor. Basement areas that aren't habitable, such as utility rooms and storage, can be a little lower, at 6 feet 8 inches. Cities apply the same numbers: Saratoga Springs, for example, lists 7 feet minimum and 6 feet 4 inches at obstructions on its basement permit page.
Two things to remember:
- It's measured from the finished floor to the finished ceiling. Flooring on the slab and drywall or tile on the ceiling both take height away from a bare-concrete measurement.
- Heights are measured after finishing, not before. A basement that measures 7 feet 2 inches today can fall short once a floor system and a ceiling go in.
That's why the ceiling choice has to be made with the measurements in hand, not after.
The main options
Drywall ceiling. The cleanest look and usually the best for sound and a finished feel. It takes the most height of the common choices, and everything above it becomes hard to reach, so access has to be planned (see below).
Suspended (drop) ceiling. A grid with lift-out tiles. It's the easiest to get into, since any tile comes out, which is why it suits basements with a lot of plumbing, wiring or equipment overhead. It needs a few inches of clearance below the lowest joist or duct for the grid, so it isn't always the answer when height is tight.
Exposed or painted ceiling. The floor framing, ducts and pipes are left open and painted, often one dark color. It keeps the most height and makes everything reachable. The tradeoffs are noise, which carries straight from the floor above, and the look, which suits some spaces more than others.
Soffits and bulkheads around ducts. Often paired with drywall: the main duct run is boxed in at its lowest height, and the rest of the ceiling sits higher. This is the usual answer in homes where one trunk line runs down the middle of the basement, because it keeps the full height everywhere except under the box.
Rules that shape the ceiling
Access. Under the National Electrical Code, boxes with wiring in them must be accessible without removing any part of the building. A junction box can't be buried behind a drywall ceiling. It needs an access panel, a removable tile or a similar opening. The same practical idea applies to plumbing cleanouts, valves and anything else that may need service, so mark and plan them before the ceiling closes.
Fireblocking. The 2021 IRC (R302.11) requires fireblocking where vertical and horizontal concealed spaces meet, including soffits, drop ceilings and cove ceilings. Half-inch gypsum board is one of the approved materials. A soffit built without it is a common inspection finding.
Under the stairs. Enclosed space under a stair that is reached by a door or access panel must have its walls, underside and any soffits covered on the enclosed side with half-inch gypsum board (R302.7).
Rental suites. If the basement will be a separate unit, the ceiling is part of the floor assembly that separates it from the rest of the house. Utah's amendment to the IRC (R302.3) exempts an accessory dwelling unit from the usual two-family fire-separation requirement when the walls and floor assemblies are covered with at least half-inch gypsum board, or equivalent, on each side. A drywall ceiling is the straightforward way to meet that. Your city can have its own rules for accessory units, so ask the building department before you choose the ceiling.
How to choose
- Measure first. Get the lowest obstruction height and the floor-to-joist height in each area.
- Decide what has to stay reachable. Panels, valves, cleanouts and junction boxes.
- Plan the ducts. Reroute only if you must. Otherwise box the trunk line and keep the rest higher.
- Match sound needs to the room. A theater or a bedroom under a busy kitchen benefits from insulation in the joist bays and a drywall ceiling. A storage room doesn't.
- Check with the city. Height, fireblocking and any separation rules vary in how they're enforced. See the local steps for Lehi, Saratoga Springs, Herriman and South Jordan.
Frequently asked questions
How low can a basement ceiling be in Utah?
For living space, 7 feet, with beams and ducts allowed down to 6 feet 4 inches, under the 2021 IRC that Utah follows. Non-habitable areas can be 6 feet 8 inches.
Can I finish a basement with a ceiling under 7 feet?
Not as habitable living space under the code. Options are to gain height, such as lowering the floor, which is a major job, or to use the area for storage or a non-habitable purpose. Ask your city.
Is a drop ceiling allowed in a finished basement?
Generally yes where it meets the height rules and fireblocking requirements, and it's a good choice for reachability.
Do I need an access panel with a drywall ceiling?
Where a junction box or other equipment is above it, yes. Electrical boxes must stay accessible.
Does the ceiling matter if I want to rent the basement?
It can. For a separate unit, Utah asks for at least half-inch gypsum board on each side of the walls and floor assembly that separate it from the house, so a drywall ceiling is the simple answer. Check with your city before you build.
Sources: 2021 International Residential Code, R305 (ceiling height), R302.7 (under-stair protection), R302.11 (fireblocking), as adopted in Utah; Utah Code 15A-3-202 (Utah amendments to the IRC, including the accessory dwelling unit exception to R302.3); National Electrical Code 314.29 (box accessibility); City of Saratoga Springs basement permit requirements.